
Mobilize Resources
Resources can be mobilized for a temporary assignment using the REMAPP > Manage Resources grid.
Note: Mobilizing a resource is a way to temporarily assign a resource to an office that is not the resource's home office for the purpose of incident assignments, staging, prepositioning, etc. Mobilizing the resource allows it to be rostered with personnel and equipment at the mobilized office.
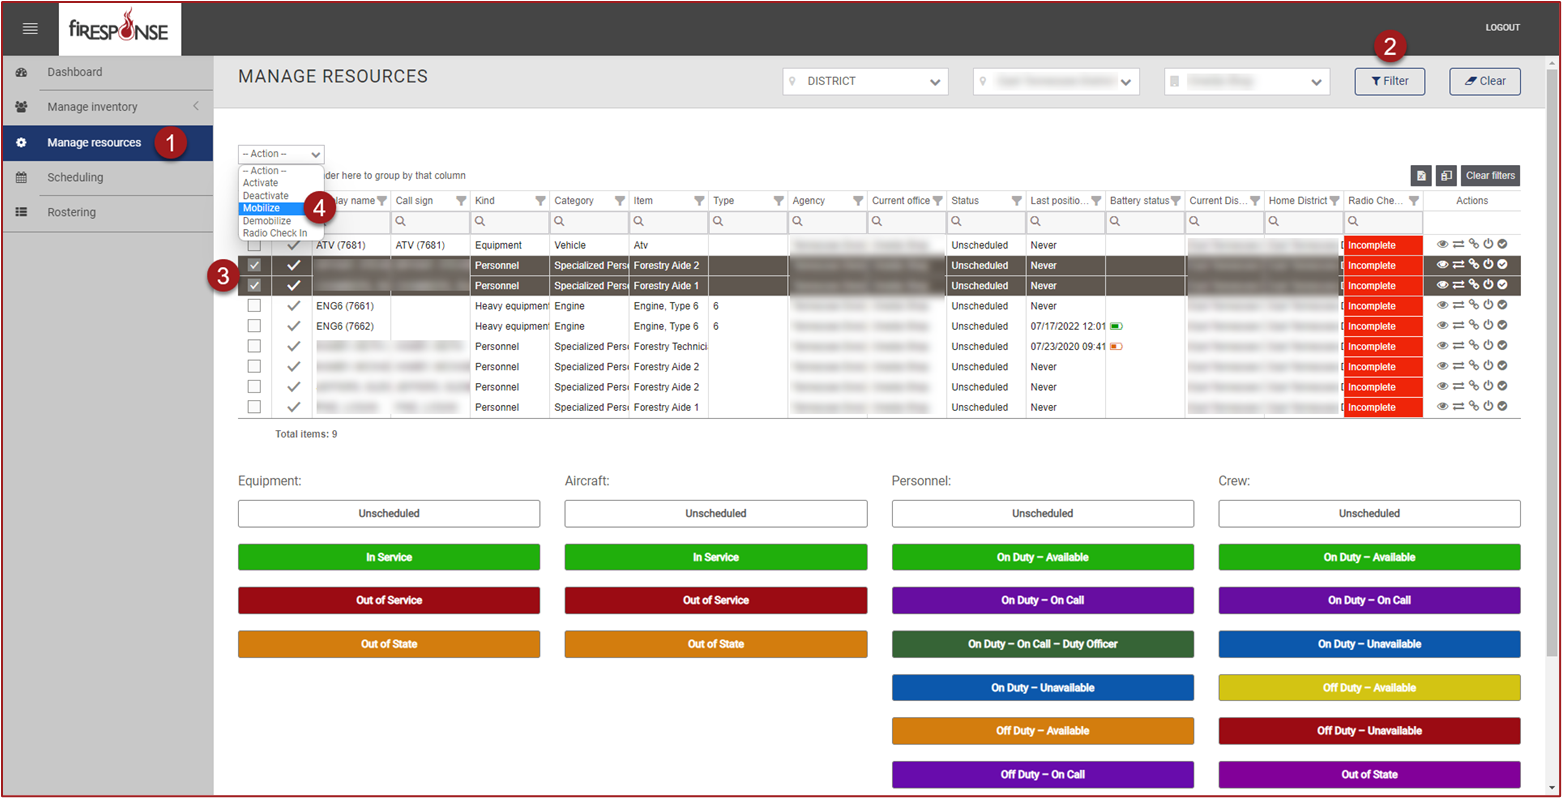
On the left-hand side in the page navigation list, click Manage Resources.
Filter the grid to the desired office using the master filters. You must click Filter to see the filtered results.
Find the preferred resource(s), and use the checkboxes to select the resource(s).
In the upper left, click the Action Dropdown > Mobilize.
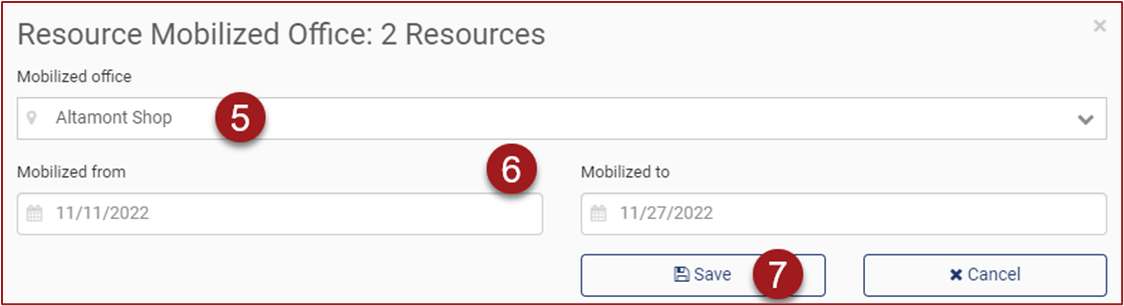
Select the Mobilized Office.
Select the Mobilized From and Mobilized To date.
Click Save.
Note: Resources can also be mobilized individually by clicking the Mobilize button in the Actions column.
Tip: To view the mobilization status of resources, use the Column Chooser to add columns to the grid. Add the Mobilized Office, Mobilized From, and Mobilized To columns.