
REMAPP 2 - Rostering
In fiResponse, a roster is the term used to refer to a hierarchical grouping of resources as those resources typically respond to an incident. For example: A dozer operator may typically respond to an incident with a dozer and a transport. You can use rostering to group the dozer operator with the dozer and transport they typically operate so all three resources can be dispatched at one time.
Note: This workflow assumes the user has set a Default Filter so additional filtering is not necessary. See Set Default Filters for information on setting a Default Filter.
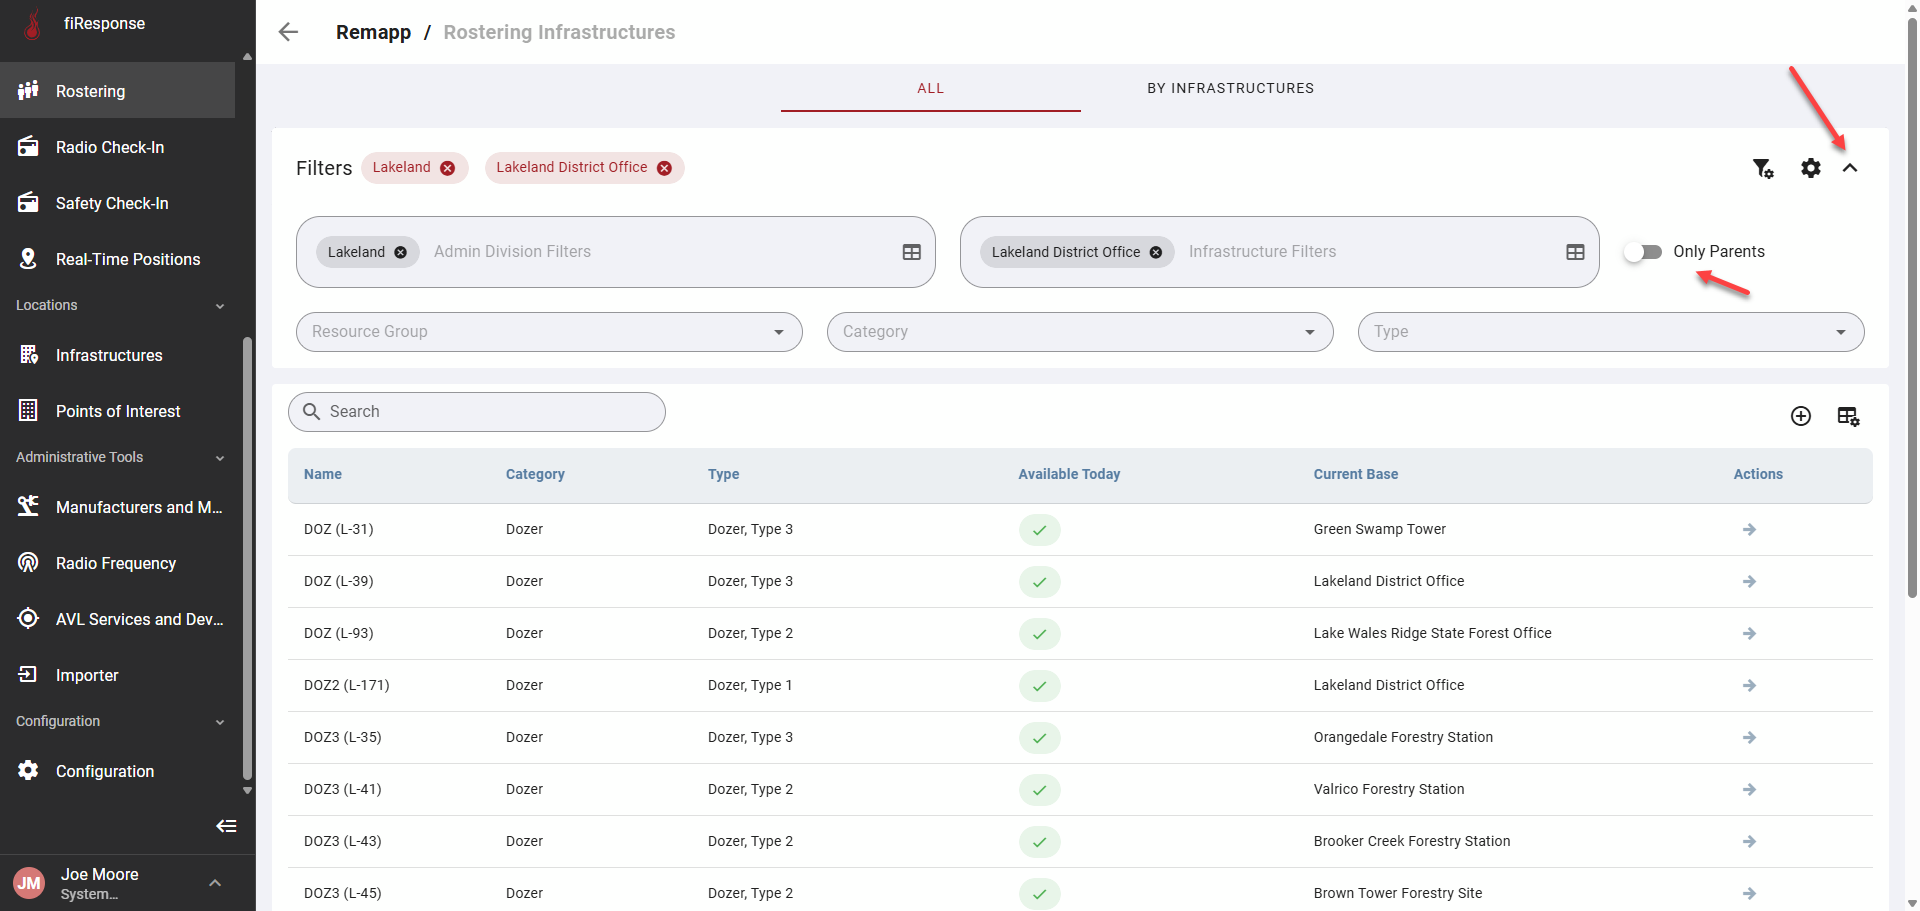
Note: By default, the Rostering grid displays “Parent” resources only (i.e. the grid only display resources that are set as the parent in a roster relationship). To disable this filter, click the down arrow and set the “Only Parents” toggle as disabled.
On the left-hand side in the page navigation list, click Rostering.
Use the filters to find the preferred Resources.
Click the arrow in the Actions column for the preferred Resource.
Click Edit (default filters will be applied).
In the Roster List, click the down arrow.
Left-click and hold on a Resource in the Resources List and drag it to the open slot in the Roster List.
Click Save.
Note: After clicking Save, the Roster has been saved. The Roster group will appear for other users in other apps. A Roster does not currently expire. Once set, it will remain the same until changed by a user.