
REMAPP 2 - Scheduling
Review the information below to learn how to perform Scheduling in REMAPP.
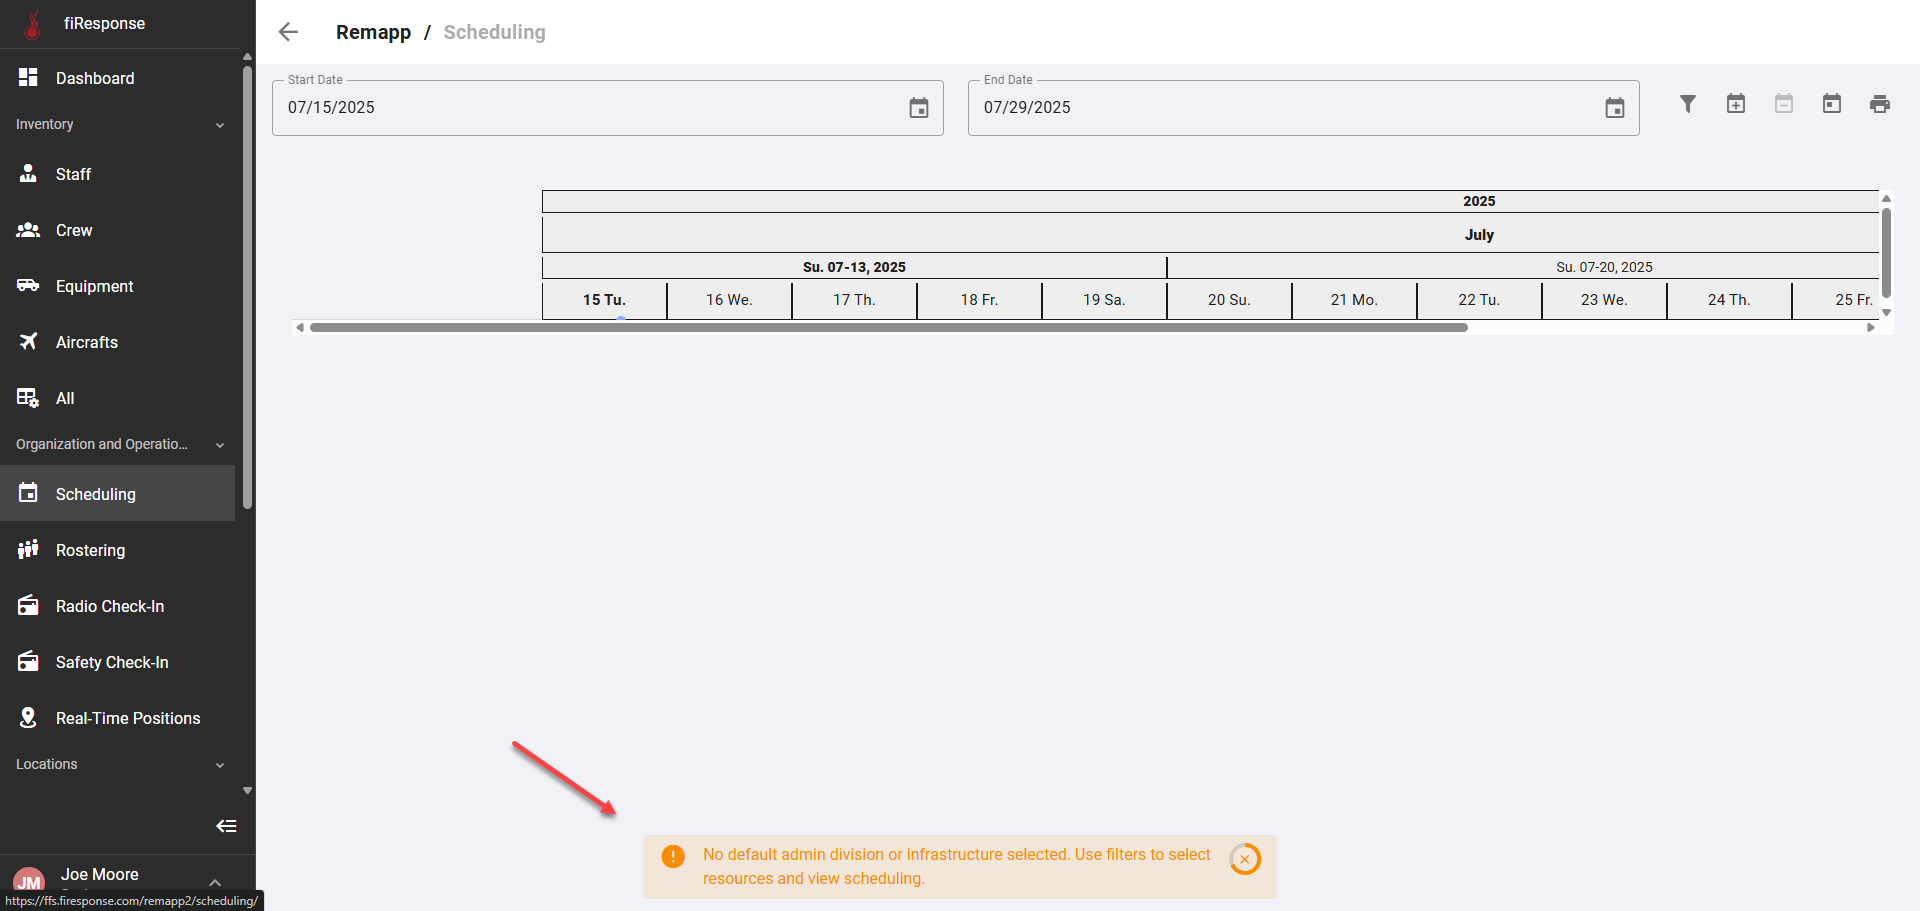
Note: To create or edit a schedule an admin division or infrastructure filter must be set to make the grid display resources. An admin division or infrastructure filter can be set on the Scheduling page or the Scheduling page will apply the default filters (Set Default Filter)
Set Admin Division or Infrastructure Filters on the Scheduling table
On the left-hand side in the page navigation list, click Scheduling.
Click the Filter button.
Click the arrow to make the Admin Division and Infrastructure filters appear and set filters.
Use the grid to select the Resources that will be displayed in the Scheduling table (You can select only some resources or all resources that match the filters).
Click Save.
Note: If a Default Filter has been applied in the Configuration tab, then the Scheduling grid will display Resources based on the Default Filter.
Set Scheduling Status for “Today” Only
Note: This workflow assumes the user has set a Default Filter so additional filtering is not necessary.
On the left-hand side in the page navigation list, click Scheduling.
Click in the cell for the preferred Resource or click New Scheduling.
Use the Scheduling modal to set the Schedule.
Click Create.
Set Additional Scheduling Status for a Resource with an Existing Scheduling Status
Note: This workflow assumes the user has set a Default Filter so additional filtering is not necessary.
On the left-hand side in the page navigation list, click Scheduling.
Click New Scheduling.
Use the Scheduling modal to set an additional Scheduling status for the Resource.
Click Create.
Set Recurring Scheduling Status (08:00 - 17:00 Recurring Daily with a Defined End Date)
Note: This workflow assumes the user has set a Default Filter so additional filtering is not necessary.
On the left-hand side in the page navigation list, click Scheduling.
Click in the cell for the preferred Resource or click New Scheduling.
Use the Scheduling modal to set the Schedule.
Click Create.
Copy an Existing Schedule to another Resource
Note: This workflow assumes the user has set a Default Filter so additional filtering is not necessary.
Note: You can only copy scheduling statuses between resources of the same type (e.g., two "Forest Rangers").
On the left-hand side in the page navigation list, click Scheduling.
Right-click on the Schedule status you want to copy and click Copy.
Left-click in the preferred cell to copy the Schedule status.
Copy an Existing Recurring Schedule to another Resource
Note: This workflow assumes the user has set a Default Filter so additional filtering is not necessary.
Note: You can only copy scheduling statuses between resources of the same type (e.g., two "Forest Rangers").
On the left-hand side in the page navigation list, click Scheduling.
Right-click on the Schedule status you want to copy and click Copy Recurrence.
Left-click in the preferred cell to copy the Schedule status.
Tip: Schedules can be set for longer periods of time by setting the End Date to the desired date in the future.