Safety Check-In
This page provides information on how to use Safety Check-In. You can view and manage Safety Check-In for Resources on the Safety Check-In panel.
Note: The ability to manage Safety Check-In is a permissioned feature and may not be available to all users.
Note: To manage Safety Check-In for Resources, the Resources must be assigned to an Incident. Safety Check-In cannot be managed for Resources that are not assigned to an Incident (i.e. Safety Check-In cannot be performed for Resources in “Returned” Dispatch Status)
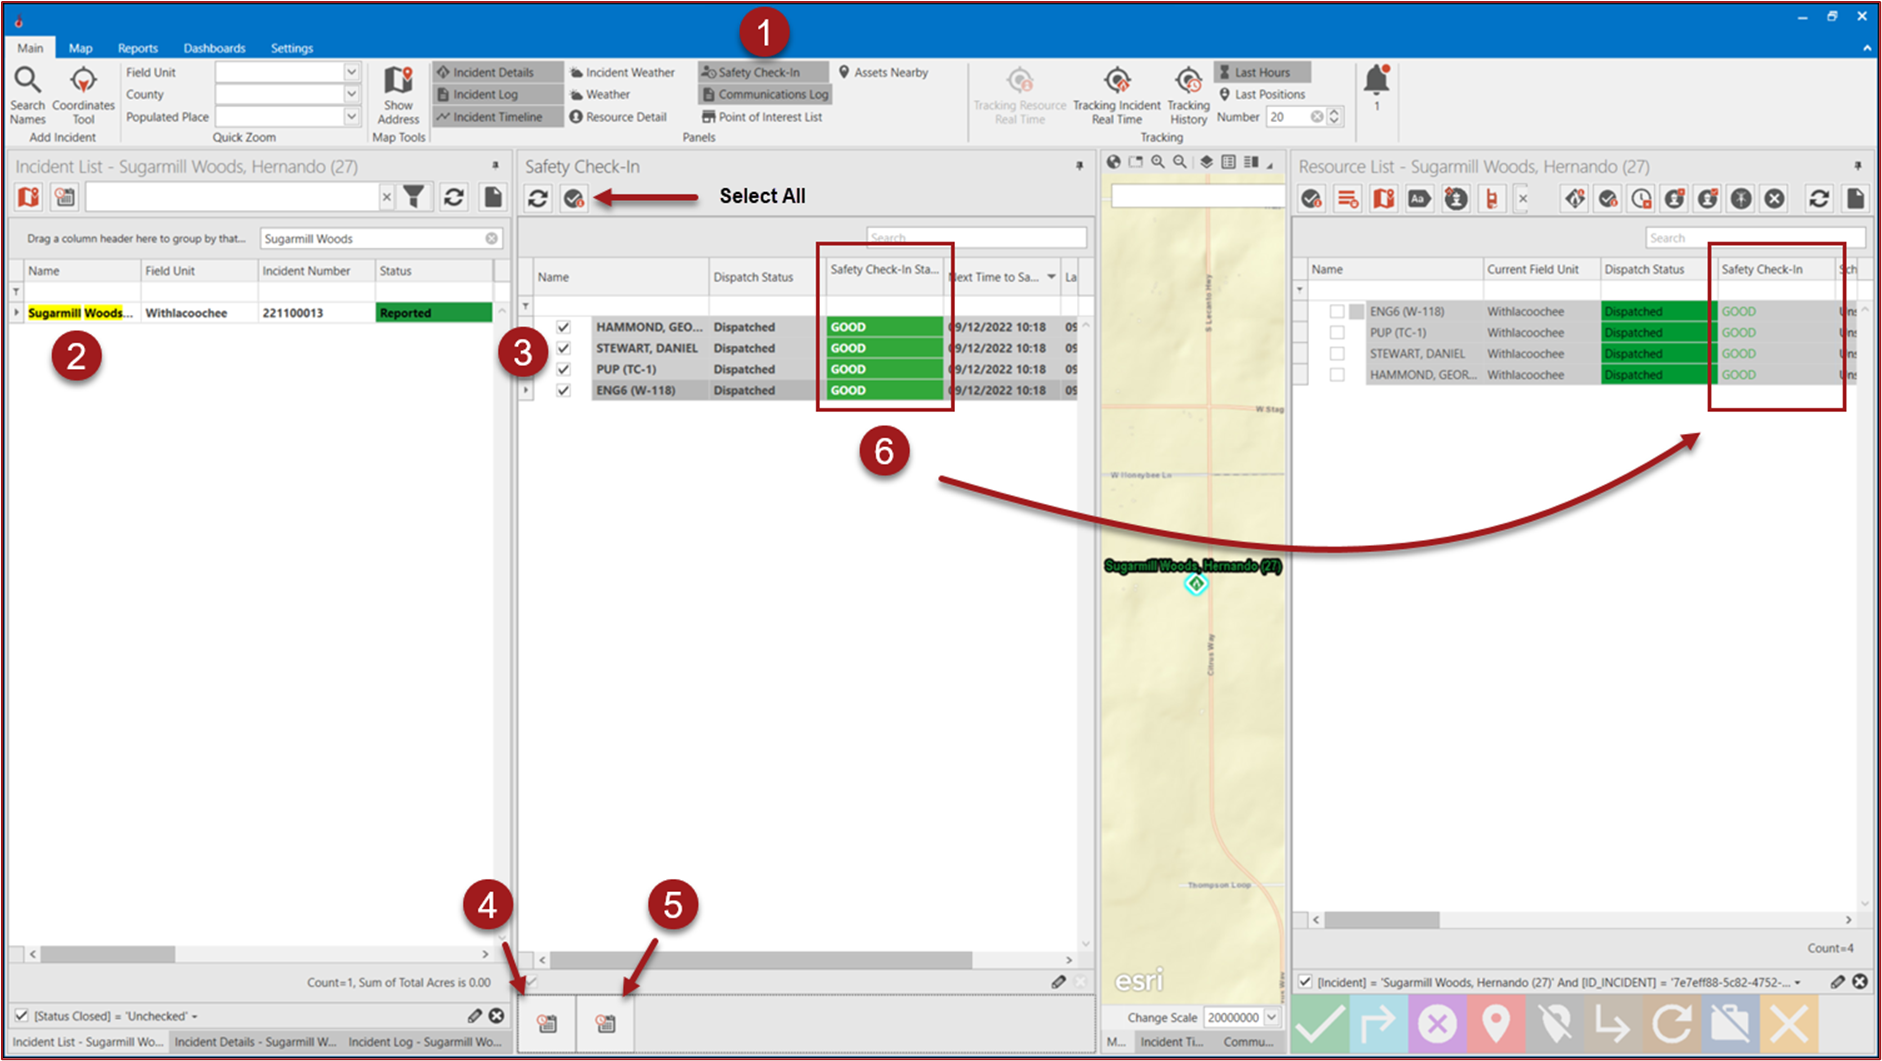
Click Safety Check-In in the panels section of the Main tab to turn ‘On’ the Safety Check-In panel.
Click on an Incident in the Incident List to select an Incident that has Resources assigned. Resources assigned to the selected Incident will appear in the Safety Check-In panel.
Select one or multiple resources and then click on the appropriate Safety Check-In action button
Set Safety Check-In – Use this action button to indicate the Safety Check-In has been completed and is set for 60 minutes.
Customize Next Safety Check-In – Use this action button to indicate the Safety Check-In has been completed and manually enter the number of minutes to the next Safety Check-In.
The selected resource(s) Safety Check-In Status will be updated on the Safety Check-In panel and on the Resource List panel.